 Bolo finds this pleasing, but she would like more. |
| Rogue Agent | |
|---|---|
 Miller thinks Rico should have retired. | |
| Mission in Just Cause 4 | |
| Type | Danger Rising DLC |
| To unlock | Complete the other submarines (USS Whitefeather, USS Conquest, USS Westward, USS Codetalker and USS Visionary) |
| Starting location | On the beach, east of Aeropuerto General Benitez |
| Reward | Hoverboard skins Hoverboard Courses Stormalong EM Zero |
Rogue Agent is the eighth and last mission in the Danger Rising DLC of Just Cause 4.
Introduction[]
Quote from the map marker: "Rico's onslaught of destruction has drawn out Emerson Miller. Sheldon has the location of his flagship."
After completing all submarines off the coast of Solís, this mission will be accessible on a beach east of Aeropuerto General Benitez. Several Army of Chaos ground vehicles (these may differ), along with a Huntsman SAM launcher, some stacks of equipment and some soldiers are present at the mission trigger.
Walkthrough[]
Tom Sheldon explains that the "Tried and True Rodriguez Method" has managed to draw out Emerson Miller. Looking through binoculars, Tom mentions that he still doesn't know what Miller's primary objective was, but he seems to be preparing to leave in his flagship, the USS Statesman. Tom reminds Rico to obtain Miller's briefcase, as it's the only way to deactivate the tracker.
Get to the USS Statesman and explore it[]
When you gain control of Rico again, you can see the USS Statesman about 2-3 km off the coast. Notice that the Army of Chaos vehicles now include a Bloodhound Siege Heli. The player may use any random vehicles.
Tom will immediately tell you to hurry, because Miller will escape as soon as he spots you, but really this part of the mission has no time limit, so take your time.
On the way Tom and Rico talk some more, with Rico inquiring about the intel for this mission, defenses, and personnel in that order. Tom will respond by saying that this is the USS Statesman, Miller's command ship; Sheldon then mentions that Miller hasn't set up any infrastructure, making the entire submarine raw firepower; and finally he will say there is a "metric shit-ton of agents" for personnel. Rico wonders why Maria tipped them off and Tom responds that: "You really going to give people shit for betraying The Agency?"
Once Rico is within about 200 meters of the submarine, Miller will have a brief chat with Rico, and then announce to his crew that Rico is here and orders them to kill him at all costs.
Notice that the submarine is equipped with 6 artillery turrets, so don't go too close just yet. Use the missiles from your helicopter to eliminate these from a safe distance.
1 A5 Coyote Assault Chopper spawns every few minutes, but they'll go down after 2 missile hits.
Once you board the submarine, take moment to notice that you now have infinite ammunition for all your carried weapons. Even if you order a different weapon from the supply drop, it will have infinite ammunition.
This seems to be a usual submarine, but with 2 automated MG turrets above strategic doorways. These are easy to destroy by small arms fire.
Destroy the "weak spots"[]
Even before boarding the submarine (assuming that the player has been in the air for a few minutes), Tom tells Rico to "grind on the electro-mag cables to bring up the weak spots". These "weak spots" are big circular "power conduits". There are 16 of these. Some are inside and some are outside the submarine.
Riding on the cables makes them rise out of their walls/floors, exposing their fragile red-glowing internal parts. They can be destroyed by any weapon. A SW9 Assault Rifle requires about a magazine of hits, but the Sequoia 370 Mag-Slug can do it in 2 hits.
After 4 conduits are destroyed, Sheldon will chime in over Rico's grappler.
- Sheldon: "Keep going, kid."
- Miller: "Tom Sheldon! Was hoping you'd be here. They gave me your chair when they put you out to pasture. Smells like a humidor."
- Tom: "That's good. Your old chair smelled like an asshole."
- Miller: "Always the class act, Tom."
At some point when the player is destroying conduits at the front of the submarine, all the missiles launch. The missile hall (room with the silos) is then full of white smoke.
When 7 conduits remain, Miller announces that: "All hands, we are losing power! Get systems back online!" Rico will reply with "Crew's only as good as their captain, Miller.", to which Miller will reply "Shut up, Rico."
When 3 conduits remain, Rico will say: "Time to abandon ship, Miller". Miller, angry at the reality of the situation, replies: "Grrr... shit. All hands, this is Miller. Prepare to abandon ship." Rico then laughs.
Cut-scene and chase[]
When the last conduit is destroyed, a cut-scene begins where the submarine explodes. Miller is shown to escape in a C3 Canvasback Hovercraft. This starts a chase sequence.
Miller drives through the wreckage and a number of agents (standing on drones) are trying to stop you. Open your hoverboard and chase after him!
As you chase Miller, explosions go off right next to Rico and Miller. The explosions are purely aesthetic and deal no damage. Dramatic music plays.
It's impossible to grapple to the hovercraft, but conveniently Miller waits for you when ever one of his missiles has blown you off the hoverboard.
It's impossible to destroy the hovercraft, either. Still, shoot at the hovercraft to spice things up.
Miller tells you to just take off the grappler so The Agency couldn't track him, to which Rico retorts that that is too easy.
The chase passes over a minefield and approaches a small island south-east of Isla Amarilla. Some agents are on the island.
Tom points out that Miller has another ship behind that island, but Rico responds that he sees it and that Miller isn't going anywhere.
Cut-scene and boss fight[]
This is the same type of Agency cruiser as can be seen near the USS Conquest and USS Westward, except that it lacks the large radar.
A cut-scene begins when Miller approaches it. Miller and Rico both jump on the deck and Rico demands that Miller hand over the briefcase, but Miller throws the case away and yells "F**k you, Rico." While slightly trivial, note that in the cutscene, Miller aims his railgun at Rico, and in return Rico raises his fists like a martial arts master (which he actually kind of is).
At this point the boss fight begins. Get ready to grapple your way to cover, because Miller has a special RG-PBA 9 Railgun which charges unusually fast and can critically wound Rico with three hits (if Rico isn't allowed to recover between the hits) if all three connect. If you die, you can restart from this point. Also notice that Miller has a health bar at the top of the screen.
During the boss fight, agents constantly spawn in to assist Miller. Kill the ones that bother you, but note that they'll respawn infinitely until Miller dies.
Miller himself will grapple around and use the same tactics as normal grappler-equipped agents. He may do any of the following tricks:
- He might grapple to a drone. When he does this, fire your grappler and tether it to the ship itself in order to disrupt him.
- When on flat ground and close vicinity, he may closely run past you to shoot you in the back. Don't lose sight of him.
- He may become invisible, like a Black Hand ghost, but he does this rarely and only when Rico is close to him.
The ship also has six weapon crates around the ship, so as long as you have an Agency weapon, feel free to hold down the trigger.
It is possible to ambush Miller around a corner and kill him quickly, but the practicality of such tactics can be questionable. Like bosses in most video games, he's impossibly, extremely tough. A single whole magazine worth of headshots from a SW9 Assault Rifle only chips away less than 10% of his health.
Headshots with the Yellowstone Auto Sniper are pretty effective, as well as using its secondary fire drones to draw Miller's fire.
Any explosive weapon will make relatively short work of him. Still, he has more explosion-wise HP than anything in the game, including the Warchief Assault Tank and the Spearhead Transport.
It is also possible to call in a Supply drop for a vehicle that might help if you can dodge Miller long enough for it to arrive in a suitable area, then jump in and fire away before Miller's railgun destroys your vehicle. Candidates include the aforementioned Warchief and Falconer AA Tank.
An effective way to make him stop grappling around and shooting you is to use the Sequoia 370 Mag-Slug's secondary fire to launch a booster at his face. If the booster latches onto him and activates, it'll put him into ragdoll and make him spin in the air like a flying ballerina. He will be a little hard to hit, but you won't have to worry about his railgun. Perhaps he could then be grappled to some corner of the ship that would make him an easier target? Make sure you don't retract him all the way, though, because once he touches any surface he'll immediately grapple towards it and the booster will disappear.
Killing him from fall damage or drowning him is a very quick, but fairly difficult way of dealing with him as he is very resilient to grappler tethers, reducing the approach's consistency.
Throughout the fight, Miller and Rico will taunt each other:
- Miller: "You're getting too old for this."
- Rico: "Barely breaking a sweat."
- (later)
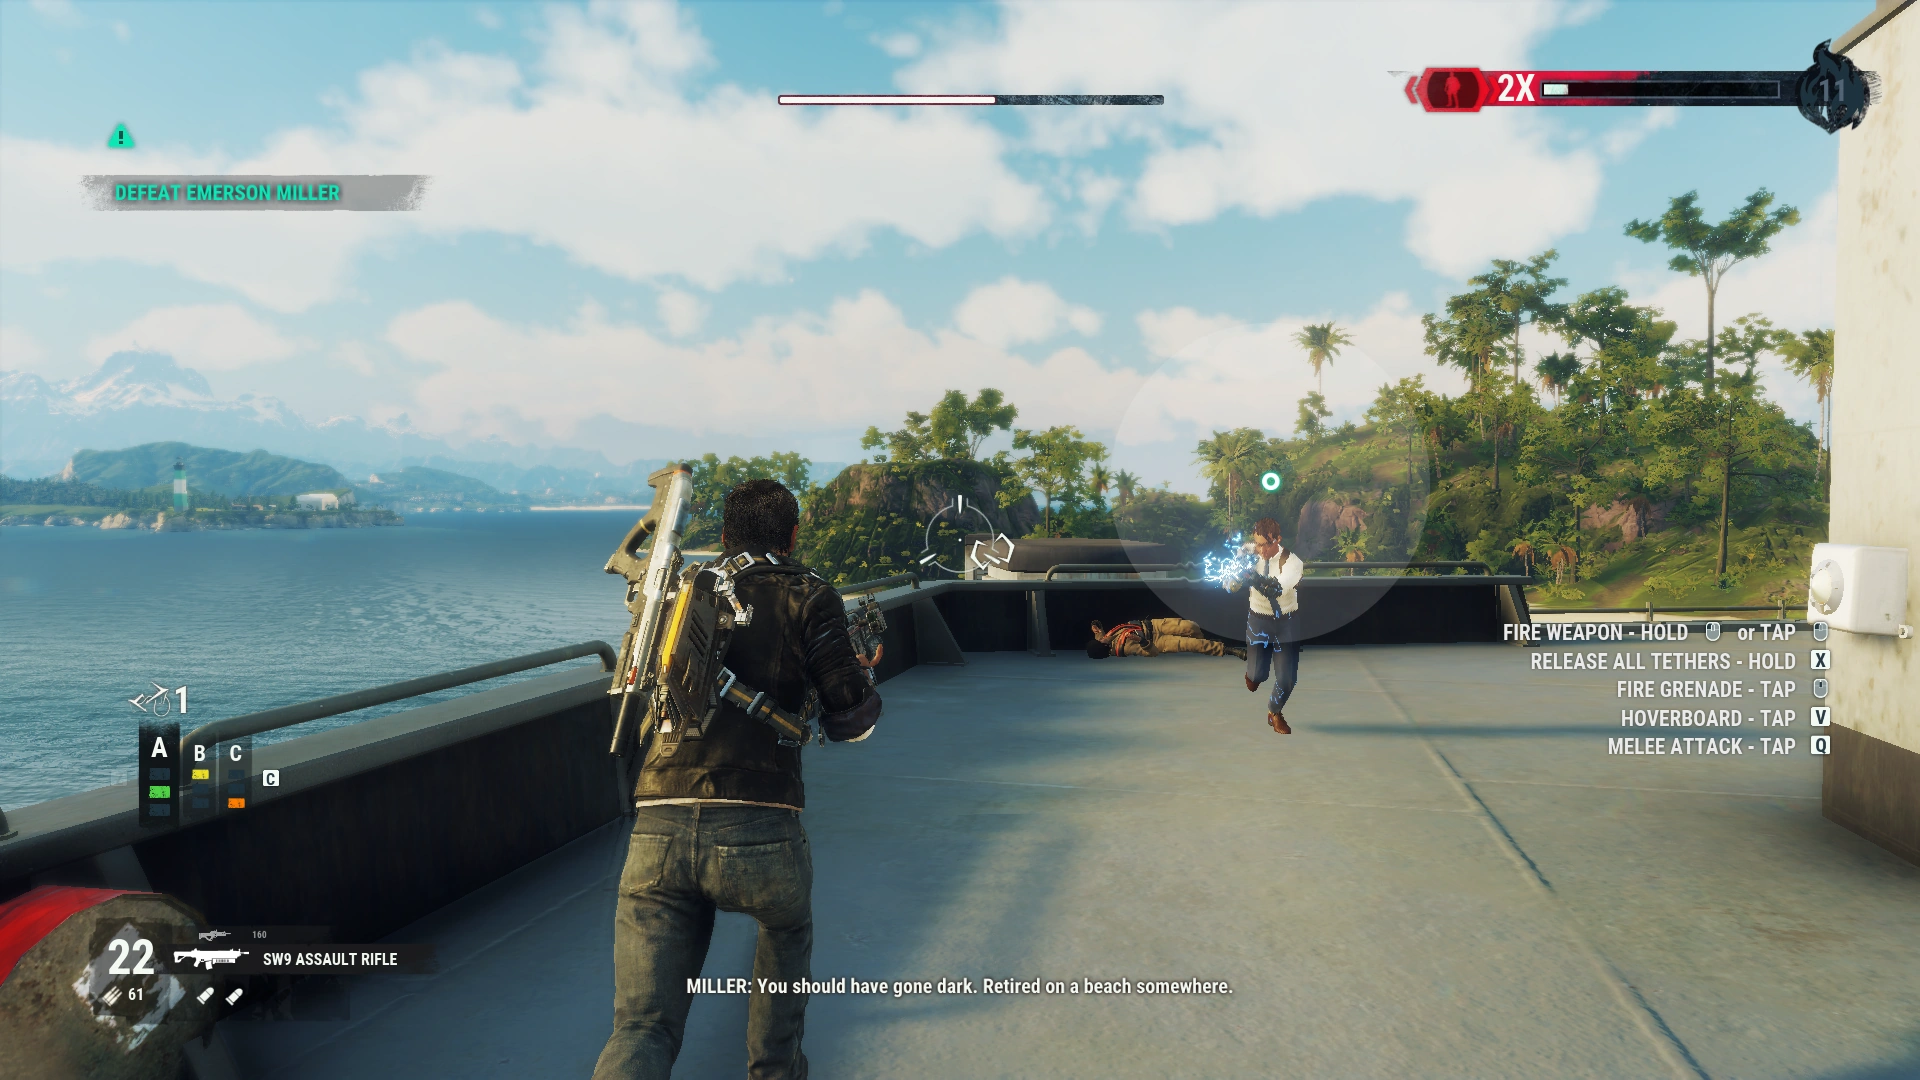
- Miller:"You should've gone dark. Retired on a beach somewhere."
- Rico: "Tried. It wasn't for me."
- Miller: "You can't beat The Agency, Rico. The Agency is America. It's not some banana republic. You're not equipped for it."
- Rico: "It's not the Agency you should be worried about right now."
- (later)
- Rico: "Just give up. Save us some time."
- Miller: "I don't lose, Rico."
- (later)
- Rico: "You getting tired?"
- Miller: "Not on your life, old man." (when Miller's health is zero)
- Rico: "RARGH!" (sounds like he's using all his strength to deliver the killing blow)
Final cut-scene[]
After whittling his health down to zero, a cut-scene begins.
Miller falls to the ground and his glasses fall off. Rico reports about it to Tom, who asks Rico to say a few words. Rico: "He talked too much."
Rico then gets the briefcase, logs in with Miller's fingerprints and starts deleting tracker data. Many of the files he's deleting are pictures of himself, implying that he deleted more than just tracker data about himself.
He then states that Miller was right, that it's not over as he looks over his shoulder at the sky where a small star sparkles. It's very likely a satellite. Tom tells him that it is for now.
The cut-scene continues to show lines on a world map as an unseen man and woman discuss the situation.
- Woman: "Miller's dead."
- Man: "(sighs) Unfortunate. Miller was a good agent."
- Woman: "I told you he was no match for Rico. But he fulfilled his role as a distraction."
- Man: "And what about Rodriguez?"
- Woman: "Killing Rico was a long shot. Miller was the only one who believed he could actually do it. The primary objective was a success. I was able to recover more than enough data to rebuild Project Illapa at a friendlier site."
The map has by now rotated to show the United States where the lines are ending in the north-eastern area of the United States where a large Agency logo appears.
- Man: "Excellent work, Agent Kane."
After the mission[]
- Hoverboard courses (at the submarines and in mainland) are unlocked.
- The wreckage of USS Statesman remains and so does the final smaller ship. The smaller ship remains occupied by Agency soldiers.
- The area of the final ship gets a map marker that allows fast travel.
- Stormalong EM Zero is unlocked at the supply drop.
Trivia[]
- With the way Operation Illapa and this mission ends, it is reasonable to assume that Just Cause 5 will be set in the United States, or an Agency friendly nation.
- This mission is unique in the sense that this mission is the only mission in the entire game apart from Sargento's training missions where your handheld weaponry is at infinite ammunition. Sargento's training missions provide LRD-3 Snipers with temporarily infinite ammunition and a AT3-X RPG in one mission, but no other mission has weapons with infinite ammo. This is also disregarding the Cow Gun.
- This mission is also the only time you will find a custom weapon, that being Miller's special RG-PBA 9 Railgun. It fires in three-round bursts which can critically damage Rico, and he can deploy Agency drones from it.
- In the game files, his railgun is a separate weapon named "railgun miller", while the normal RG-PBA 9 Railgun is named "wpn 80 railgun".
- Emerson Miller is one of the most resilient antagonists in the Just Cause Game Series. Only Pandak "Baby" Panay is similarly tough.
- A similar scenario is Son of Medici in JC3, where Di Ravello's Urga Mstitel could survive at least two direct hits from the extremely destructive M488 Bavarium rocket launcher, even though it only takes around 10 hits from a UVK-13 to destroy.
- This mission is one of the most difficult missions in Just Cause 4, and quite possibly one of the most difficult missions in the Just Cause game series.
- Never minding that using a bullet based weapon might help during the final fight with Miller, no other Agency mission has this many Agency operatives trying to kill Rico.
- The Agency cruiser also has some areas with huge numbers of red barrels. If Rico gets blown into one of those areas, he will almost certainly take critical damage.
- The USS Statesman has 5 turrets on it that if not disabled, can be really problematic for Rico.
- The song playing throughout this entire mission is a slightly different version of the music heard on the Agency submarines, with the one here sounding much more urgent. This sort of makes sense, as the fate of the Agency operation on Solís (and Miller's fate) is at stake in this mission.
Gallery[]
.png "Rogue Agent (mission trigger area with helicopter).png (2.68 MB)")
.png "Rogue Agent (USS Statesman rear half).png (1.83 MB)")
.png "Rogue Agent (USS Statesman front half).png (2.49 MB)")
.png "Rogue Agent (USS Statesman left front corner).png (3.14 MB)")
.png "Rogue Agent (closeup of a weak point).png (1.55 MB)")
.png "Rogue Agent (weak point open).png (2.55 MB)")
.png "Rogue Agent (destroying weak points).png (2.26 MB)")
.png "Rogue Agent (missiles launching 1).png (2.01 MB)")
.png "Rogue Agent (missiles launching 2).png (1.43 MB)")
.png "Rogue Agent (missile hall is full of smoke).png (1.9 MB)")
")
")
.png "Rogue Agent (Miller is escaping).png (2.15 MB)")
")
.png "Rogue Agent (chase, agent and missile).png (2.53 MB)")
.png "Rogue Agent (Miller approaches his ship).png (2.25 MB)")
.png "Rogue Agent (Rico has to wait for Miller).png (3.74 MB)")
.png "Rogue Agent (FU Rico).png (2.99 MB)")
.png "Rogue Agent (boss fight begins).png (2.11 MB)")
.png "Rogue Agent (closeup of Miller).png (386 KB)")
.png "Rogue Agent (Miller is stuck).png (2.65 MB)")
.png "Rogue Agent (Miller the flying ballerina).png (3.42 MB)")
")
.png "Rogue Agent (you should have retired).png (2.15 MB)")
.png "Rogue Agent (Rico is deleting data).png (1.55 MB)")
.png "Rogue Agent (Rico spotted a satellite).png (3.18 MB)")
.png "Rogue Agent (big reveal about new Illapa).png (1.12 MB)")
.png "Rogue Agent (excellent work agent Kane).png (1.1 MB)")
.png "Rogue Agent (area after the mission).png (2.33 MB)")
")
.png "JC4 tip (hoverboard courses).png (546 KB)")
.jpg "Hoverboard course (Tightrope Course at USS Statesman).jpg (372 KB)")